Custom Template
Written May 1, 2023 by Jonathan De GrootIn addition to the supported templates found in the Templates article, Requirement offers a custom template feature to empower users to tap into their creativity to brainstorm uniquely tailored templates specifically for their team's needs.
How To Use Custom Templates
Requiremint will restructure the content, adjust language for better clarity, and add additional details for further understanding based on the custom template provided. The custom template feature is available when successfully logged into Requiremint and viewing the editor.
To demonstrate how the custom template feature works let's consider a simple scenario where a customer withdraws cash from a bank machine as a basis for a step by step tutorial.
1. Enter text into the editor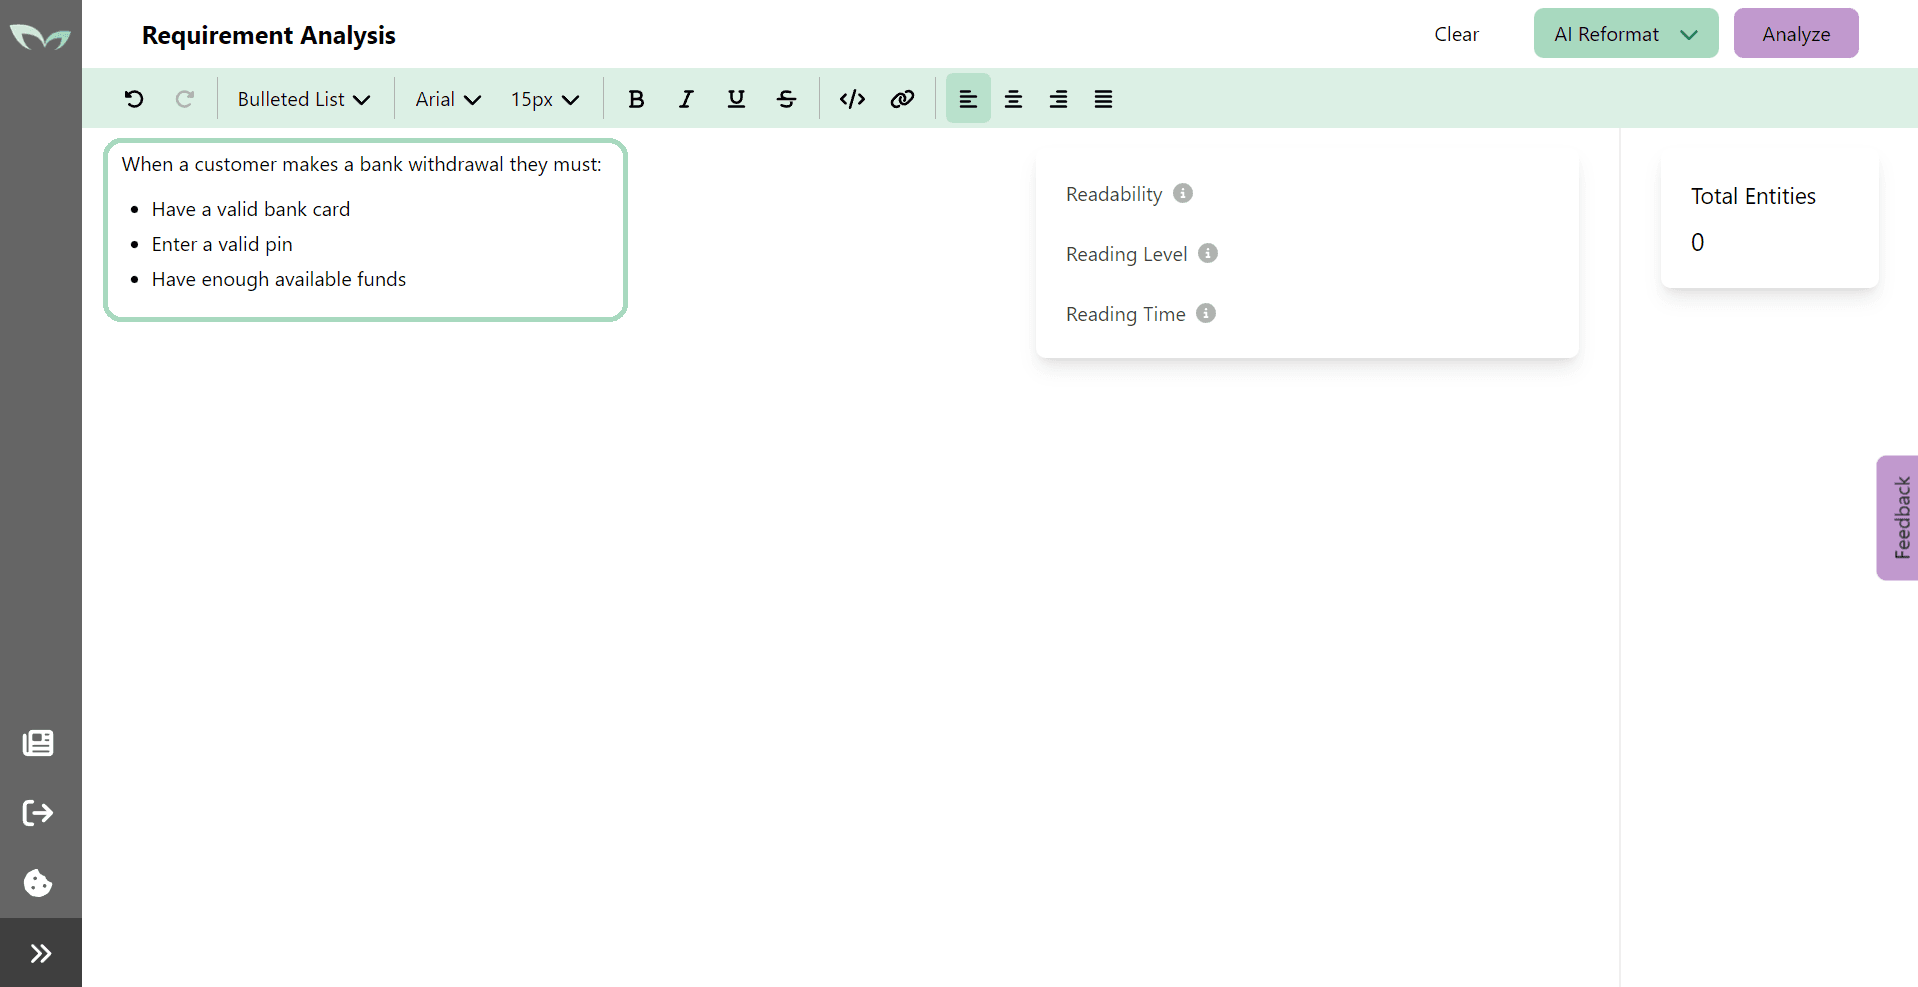
Note: Feel free to paste, type, or quickly brainstorm a starting point for a Requirement into the editor and let Requiremint work its magic!
2. Click on the "AI Reformat" button and select "Custom Template" from the list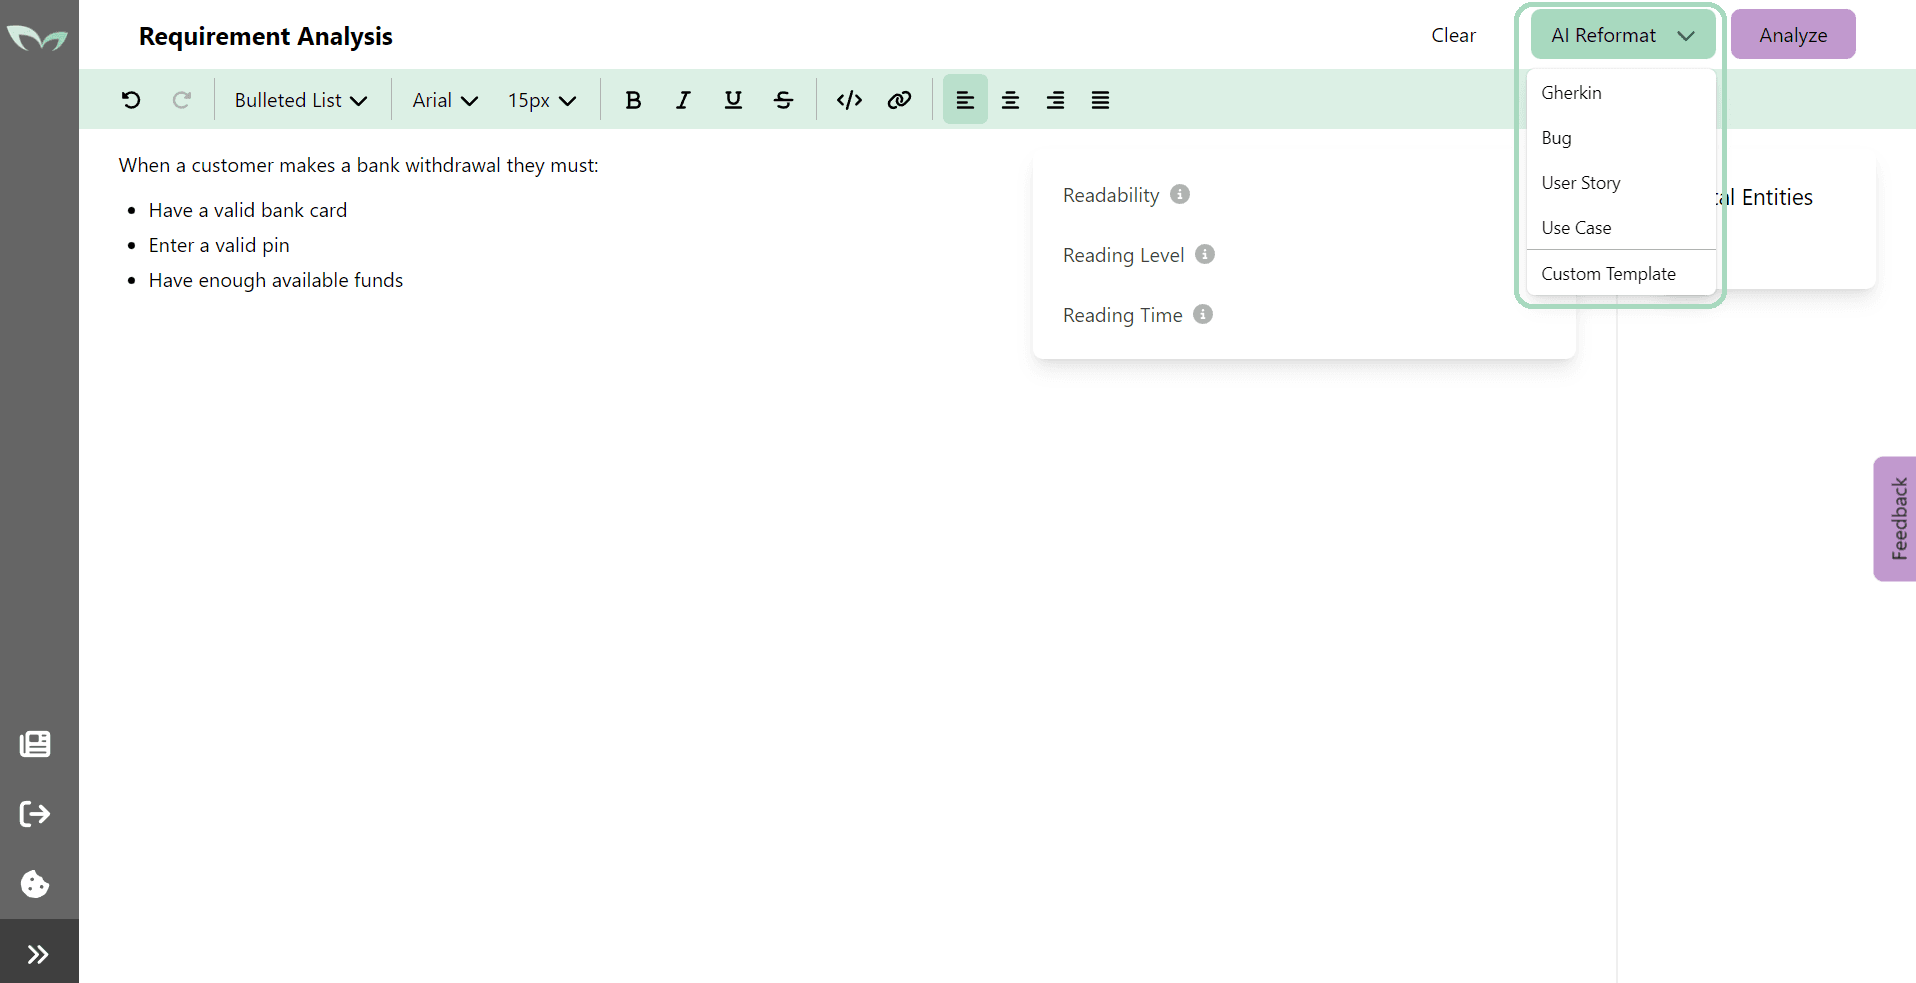
Tip: The formats listed above the "Custom Template" are templates supported by Requiremint. Learn more in the Templates article.
3. Enter in your desired template format and when satisfied click the "Reformat" button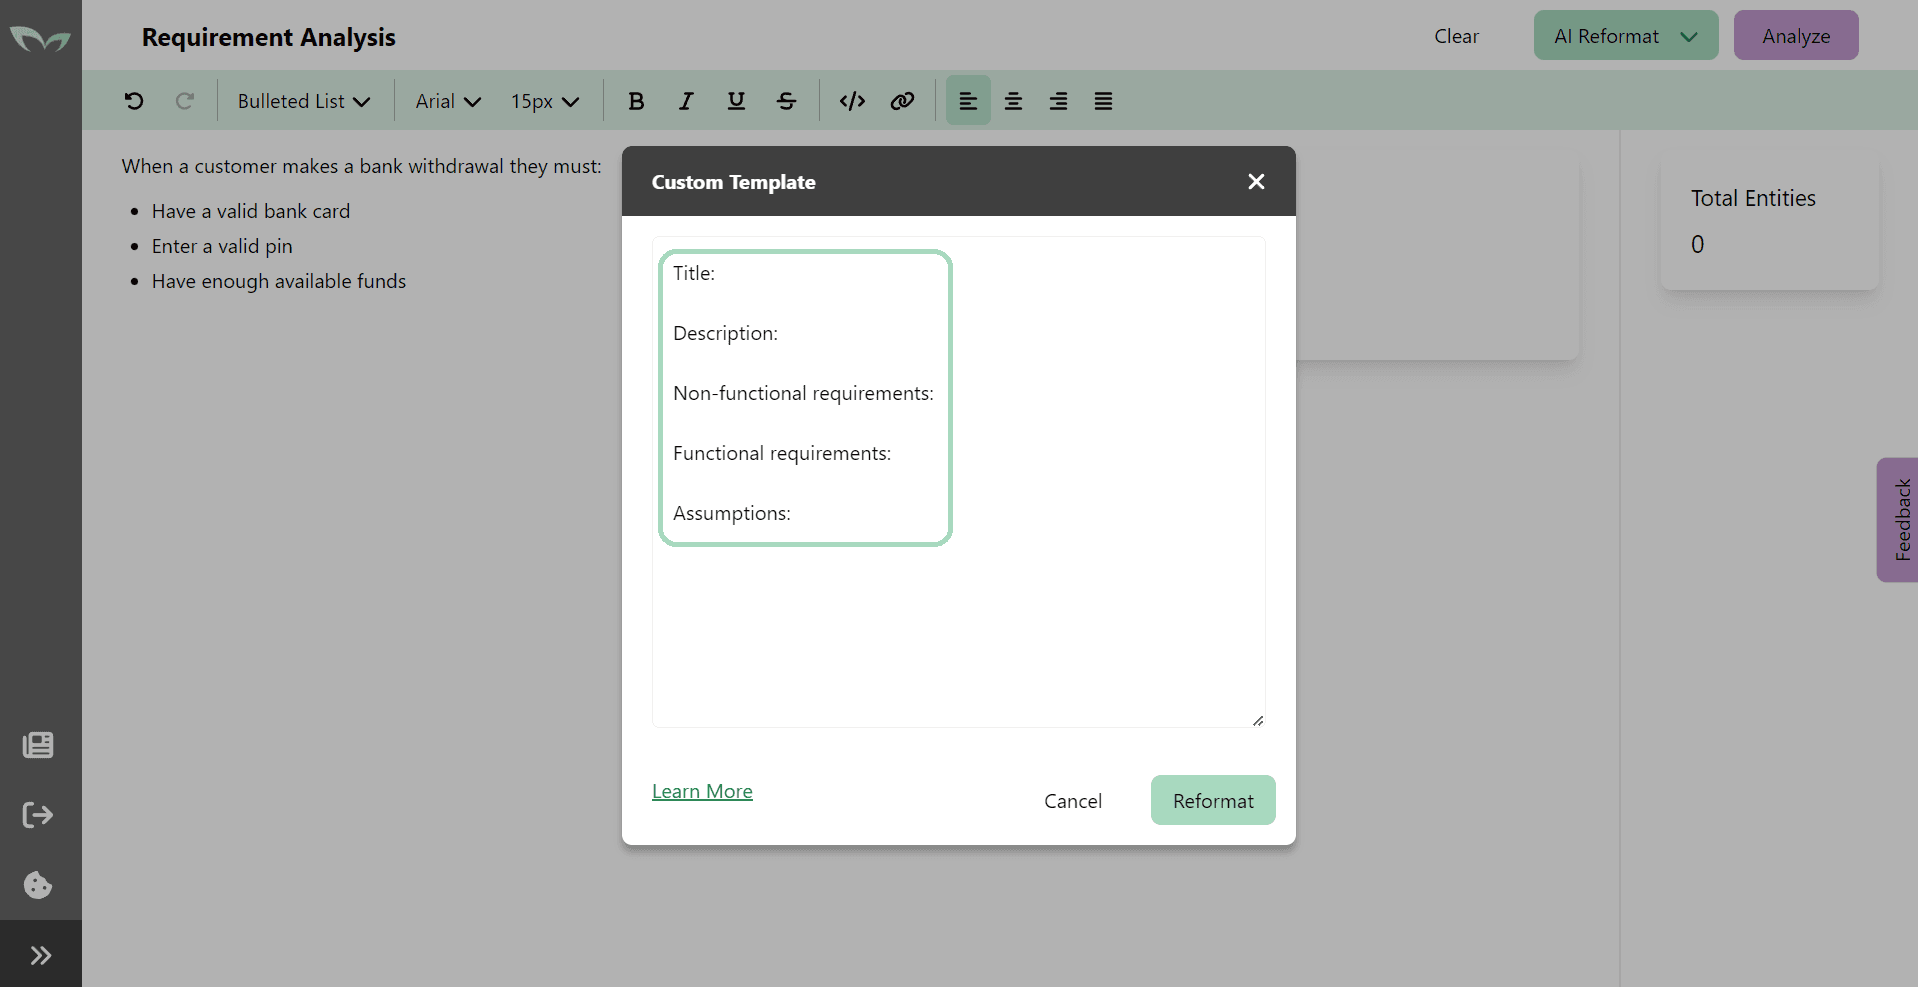
Tip: Now is the time to flex that creativity of yours. In the above example, the template created includes some familiar terms of a software system such as title, description, functional and non-functional requirements and assumptions. Play around with the styling, headings, sub-headings, and overall structure.
4. Review the proposed changes. When you're happy with the results click the "Accept" button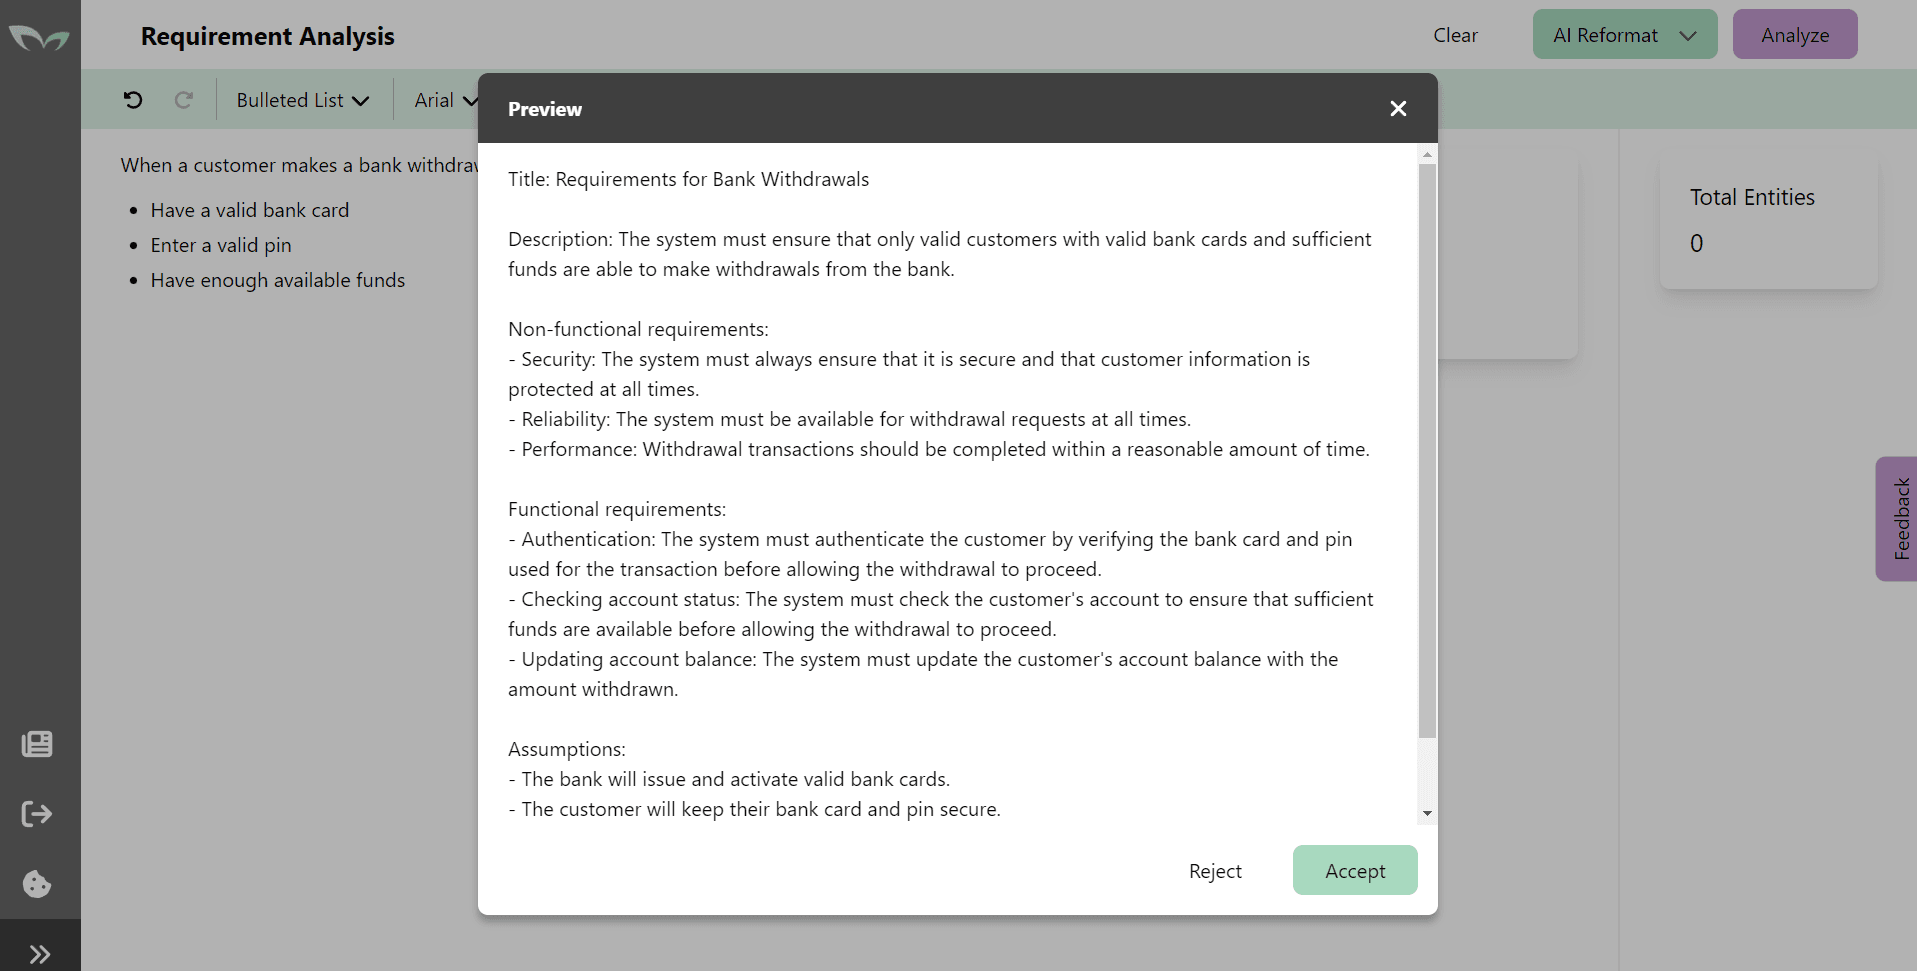 5. Voila! A minty fresh custom templated requirement will now populate the editor!
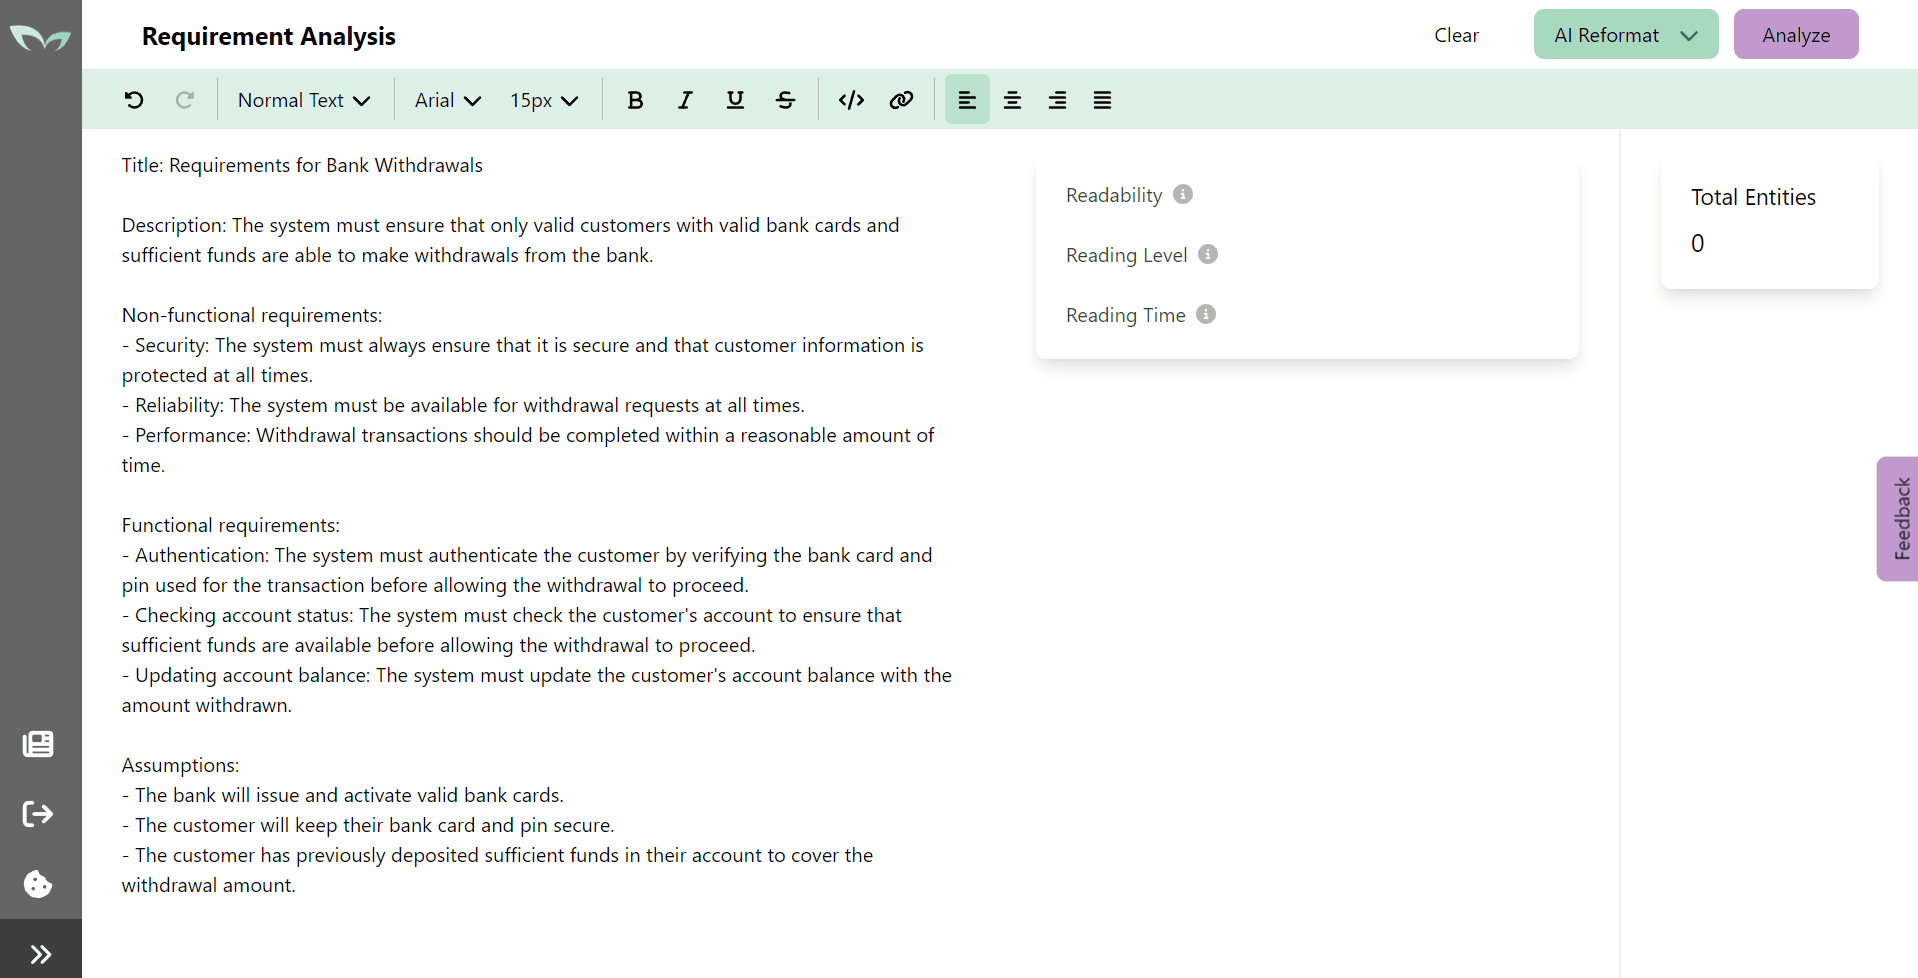
Note: The undo or redo button found in the top left of the toolbar can bring the editor to a previous state.